Creating an event
This page details how to use the events post type on the Curtin events.
Before you begin
Get access to WordPress
To create a new event on Curtin events, you will need to complete a Request for web access form to get editor access to the WordPress site. Editor access allows you to create an event and publish it.
Please include details in your request as to why you need access to the events site and which area you work in.
Note: DTS manages the processing of these requests.
Saving and publishing your event
Saving and previewing an event
- Before submitting the page for review, save the draft and then preview the page to ensure that you are happy with it.
- The page will open in a new tab in your browser, so you can close can easily navigate back to the event page you’re creating.
Publishing your event
- Once the above information is completed, publish the page (depending on your level of access)
- Check your event on the Curtin events site and make any adjustments if required.
Event registration
Register for upcoming events via the Curtin Events website
Creating a new event
To create a new event, go to Curtin events page and create a new event with the following information:
Event description (required)
Summary
Within the top area of the post, enter a description of the event. It is possible to structure the content with MIMAS blocks, adding videos, links and images. Further, detailed information about the event can be added in the “Event details” as outlined below.
Event details (required)
The following section can be found below the event description at the bottom of the page:
Event specifications
- Add a register button (if available)
- Select the type of the event, options include:
- Seminar (inc. symposium, workshop)
- Ceremony (e..g. Graduation, John Curtin Medal)
- Education (e.g. Masterclass, Training)
- Social
- Exhibition (e.g Gallery)
- Expo (e.g. Undergrdad, PG expo, In-country events)
- Information session (inc. VC Event, Webinar)
- Campus Experience (e.g. Open Day, Orientation Week, Tours)
- Extra details
You can add small snippets of content which will be shown under the event details (date, time etc). This is intended to list information such as where to park, how to get to a building, suggested gear to bring etc.
Date & time
- Select the type/length of event
- Single day
- Consecutive days
- Non-consecutive days
- Enter the start date
- Enter the time
This should be as brief as possible. Elaborate further in the following “Time details” field if additional text is required. Ensure to adhere to the Curtin’s time formatting standards. - Time details
Enter further time details if required. This could be necessary if your event is over different days with different times, etc.
Masthead image
Upload a masthead image for your event with the dimensions of 1920px width and 400px height. Visit this section to learn about how to optimise your image.
Post component (optional)
Add in a modal window here. This window could contain additional information, such as location or detailed contact details.
Sidebar options
Sticky post
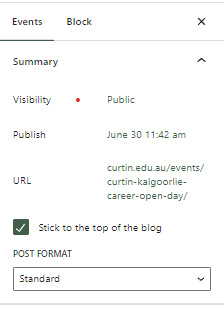 |
The “Stick to the top of the blog” action allows you to place an event prominently to the top of the events page. |
Set expiry
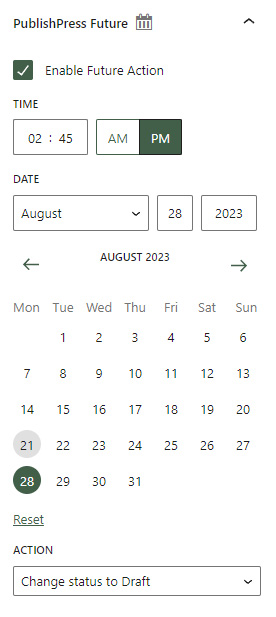 |
The “Publishpress Future” tool allows you to set an action after the post expires, for example the post is set to DRAFT automatically or does not stick to the top of the events page anymore. |
Categories
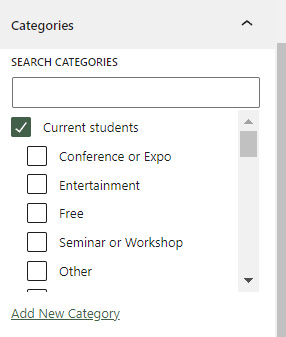 |
This section defines in which categories the event is shown. These category settings also affect the section “Related events” on the events main page. |
Audiences
 |
This section defines to which audience the event is shown to. These audiences are also reflected on the main events page and can be selected under the dropdown “Who for”. |
Regions
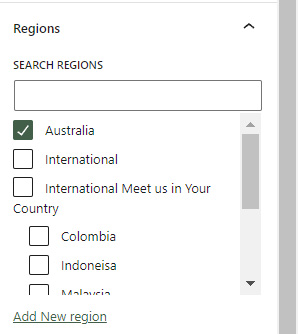 |
This section defines in which country this event takes place. This section is also reflected on the main events page and can be selected under the dropdown “Where”. |
Featured image
 |
This image is shown as the masthead image when the post is set to “sticky”. Upload a featured image with the dimensions of 1920px width and 400px height. Visit this section to learn about how to optimise your image. |
Excerpt
 |
This section is optional and only applicable to posts. Here you can write a one to two sentence description of the post or page.
If the excerpt is empty, MIMAS automatically creates an excerpt using the first 55 words of the post. |